
How do I remove the background from my artwork?
Edited
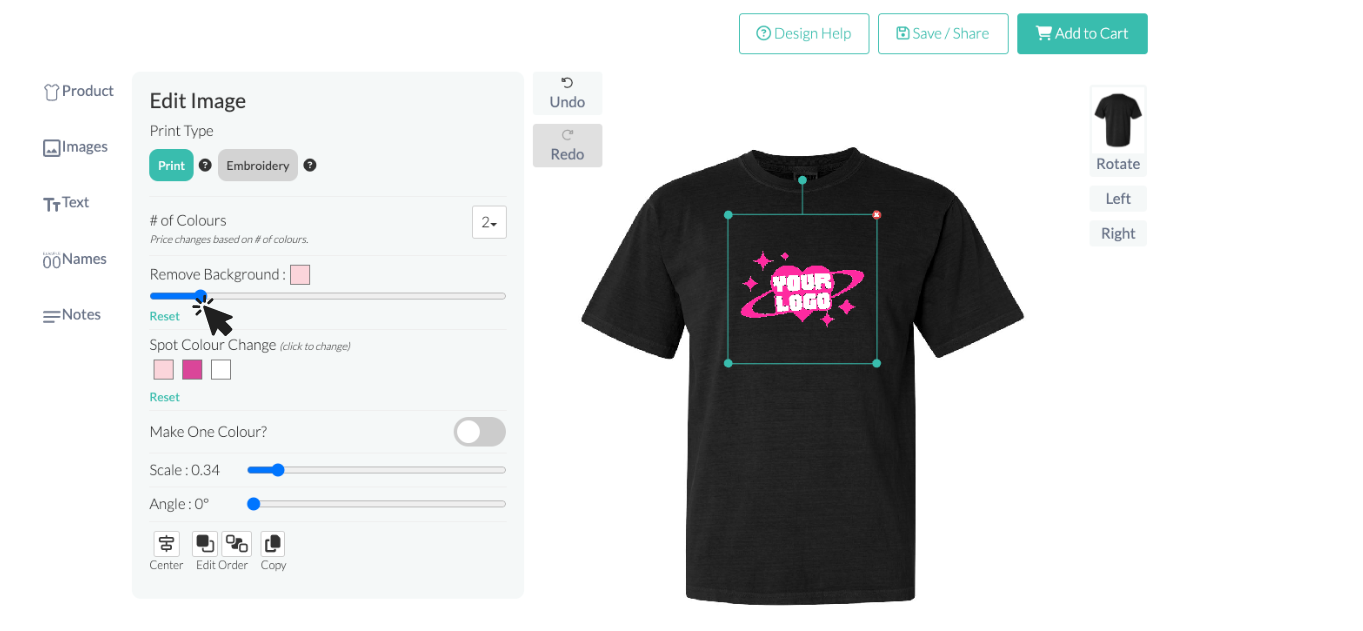
Removing the background of your artwork is simple with our design tool.
Below is a quick guide on how to easily remove the background from any artwork.
Step 1: Click on the design you want to remove the background from
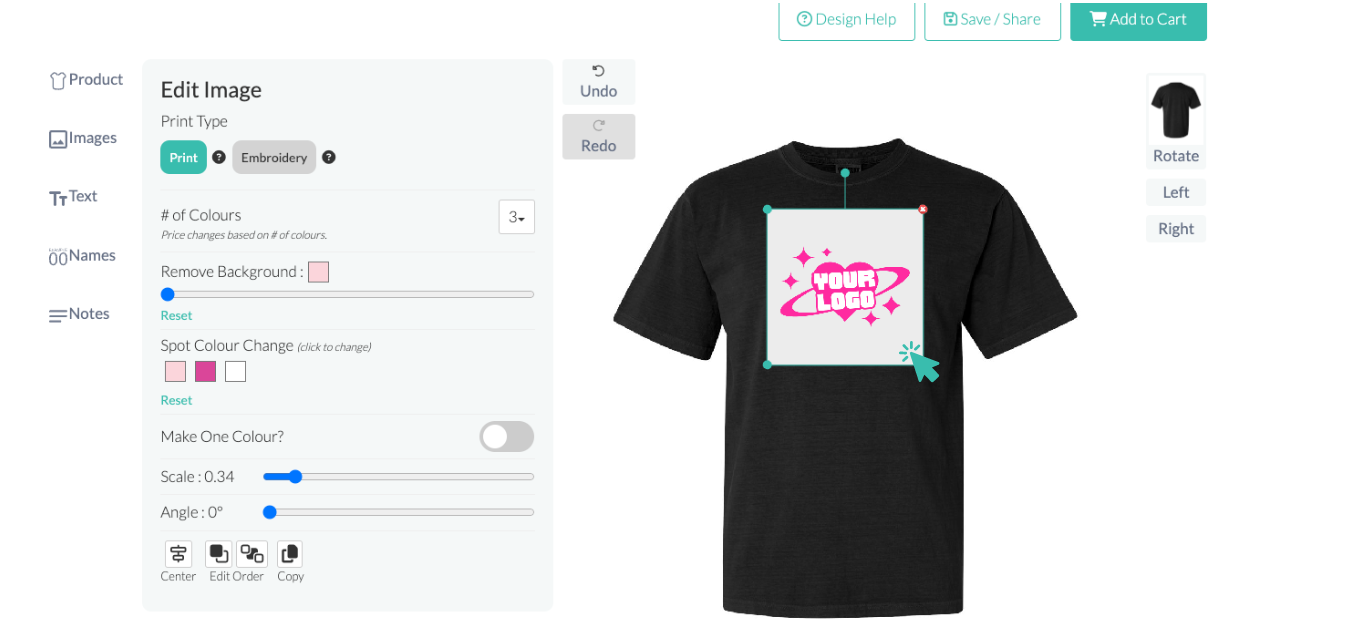
Step 2: Use the slider to remove the background. Slide from left to right to remove the design's background
background
artwork
design
artwork background
image background